For a quick overview of how FT8 was created click Here
- Download and install the latest distribution from the WSJT-X project page. The documentation is well-written and useful.
- Verify your system clock is set accurately. Download Dimension 4 or NetTime (you can also check the accuracy by going to Time.is)
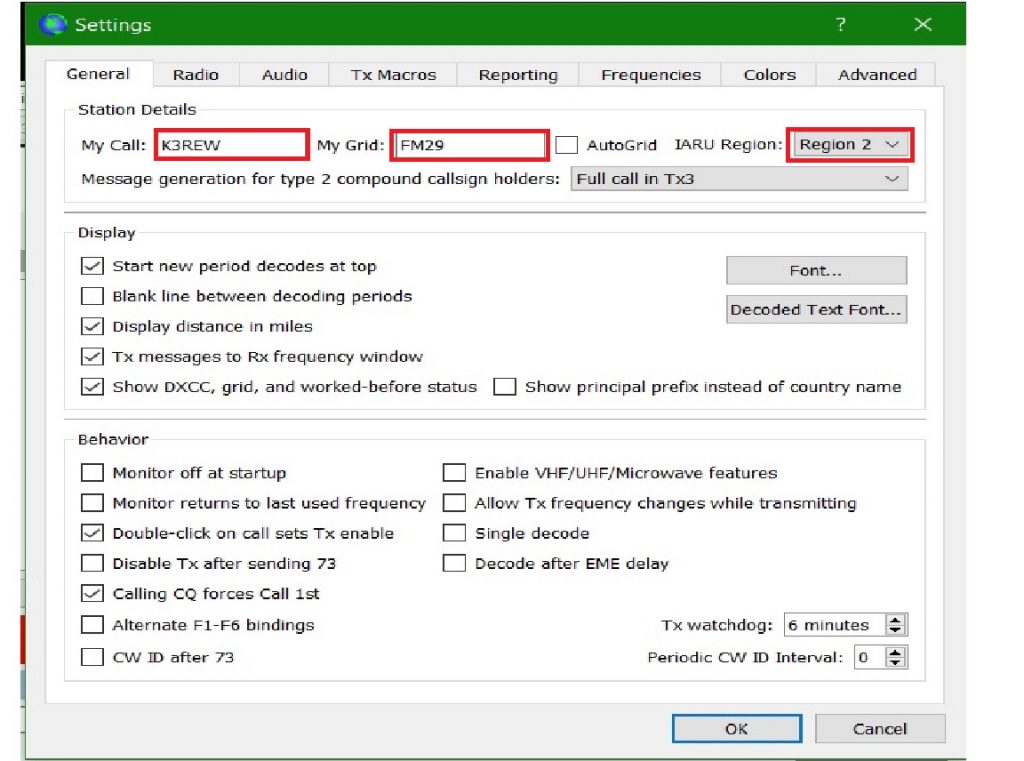
- Open up WJST-X for First time setup

- Open Settings
- Add Callsign
- Grid square
- Region
- Select Radio Tab
- Select your Radio in the drop down box
- Make sure your radio is plugged into your computer using the proper cables
- This can be many different configurations depending on your Radio whether it has a sound card or not
- Could possibly need a secondary device to provide the sound connection
- Click for Signalink this page has information on purchase and setup for WSJT-x
- Click for Rigblaster from West Mountain Radio
- Once your computer recognizes the com ports you may have to exit WSJT-x in order for them to show up in the appropriate drop down boxes.
- Once you have the program back up, select the com ports
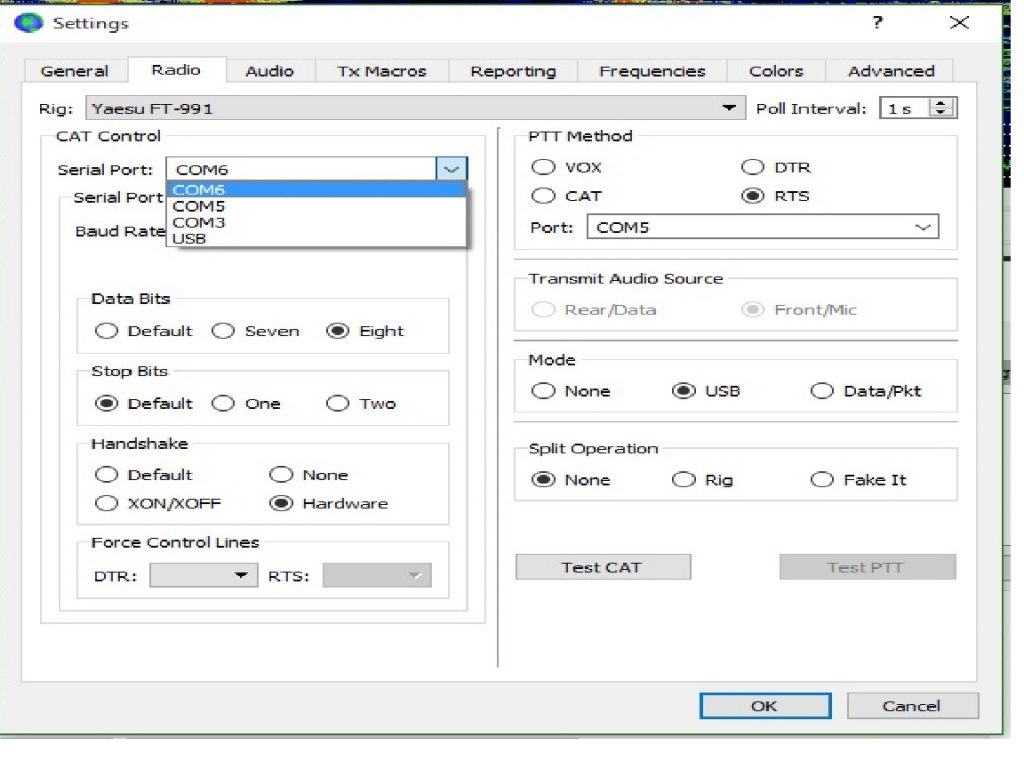
Next, the Data Bits, Stop Bits, Handshake, Ptt Method, Mode and Split Operation are all determined by your radio or secondary equipment. The above image shows the settings for a Yaesu 991.
Once set up Click Test CAT. If it is set up successfully it will turn the button green.
Then you can click the TEST PTT button, it will turn red, if your radio shows it is transmitting click the TEST PTT button again and it will stop transmitting.
If any of these fail please check your setting in the boxes above and check your equipment settings.
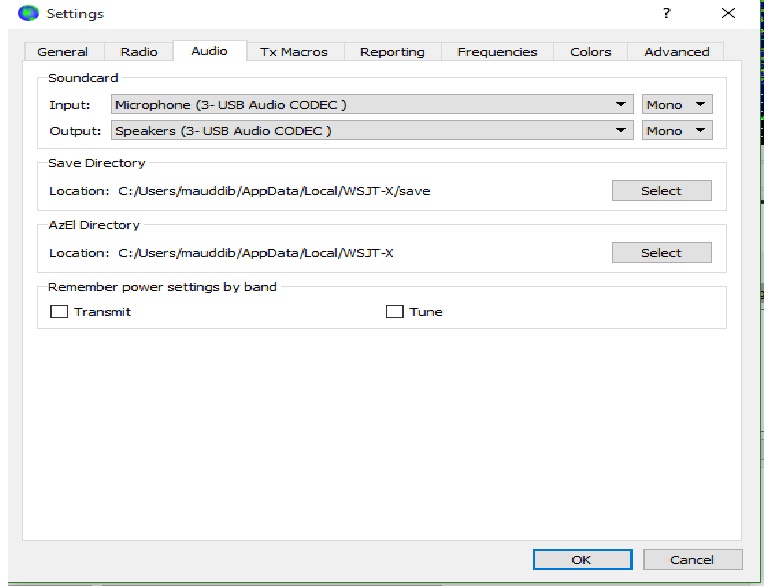
- Next click the Audio tab
- Depending on your setup you will chose the USB devices for microphone and speakers
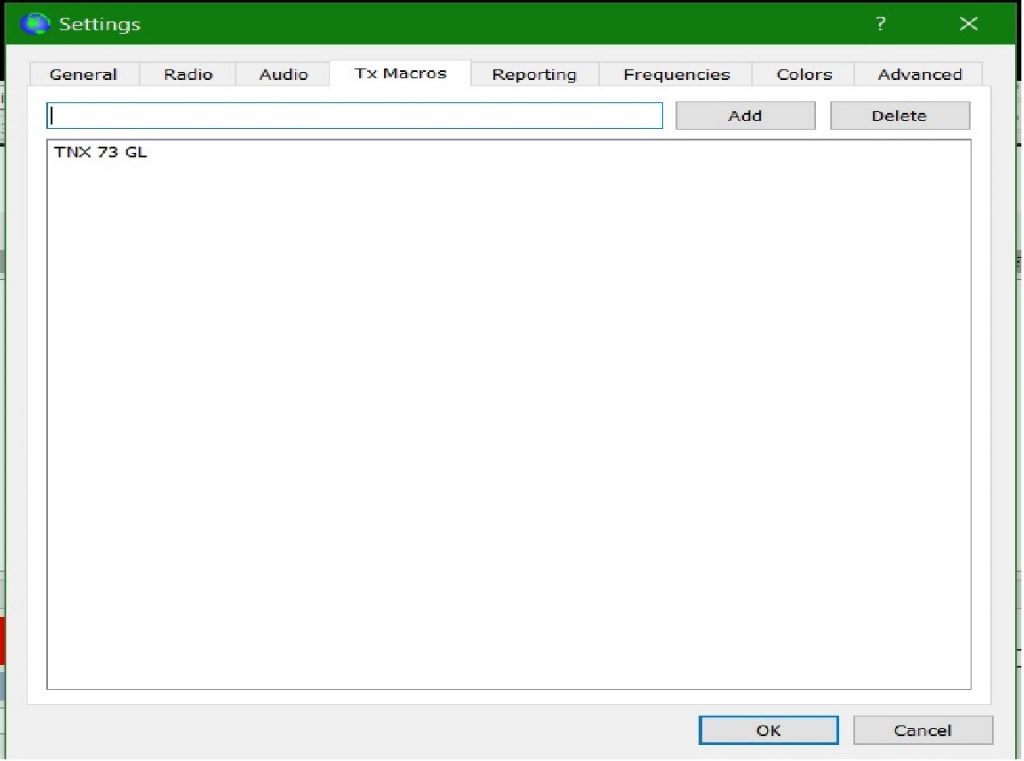
The TX Macros tab is for adding extra text to the transmission
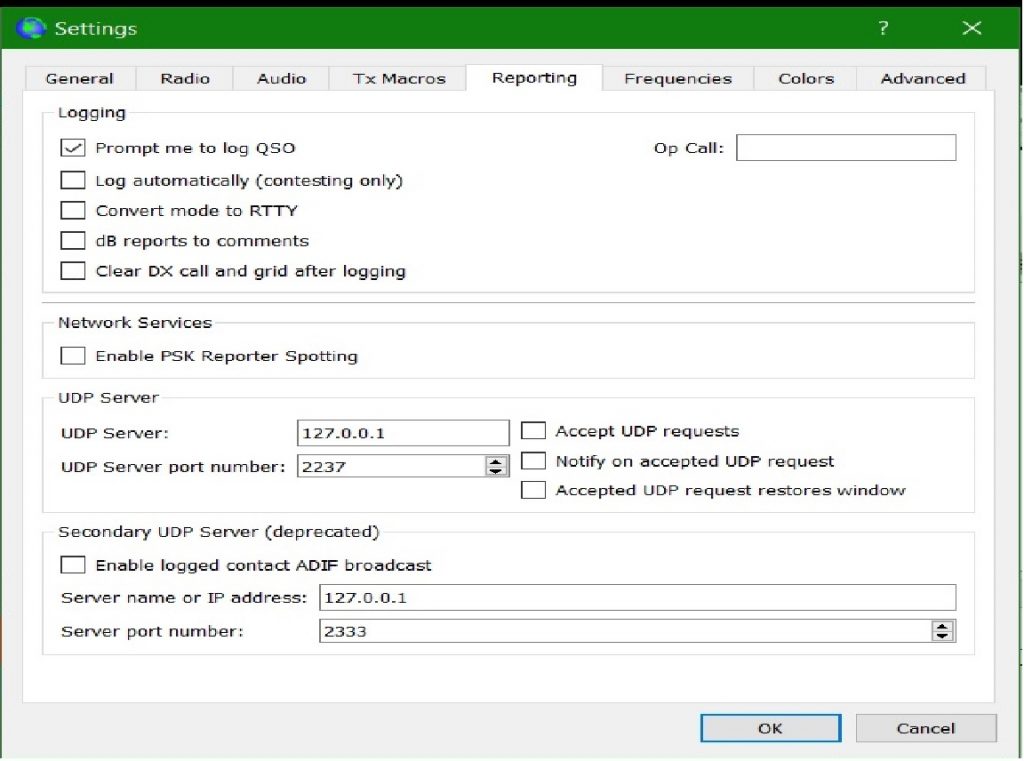
The reporting tab is used to set up logging after QSOs.
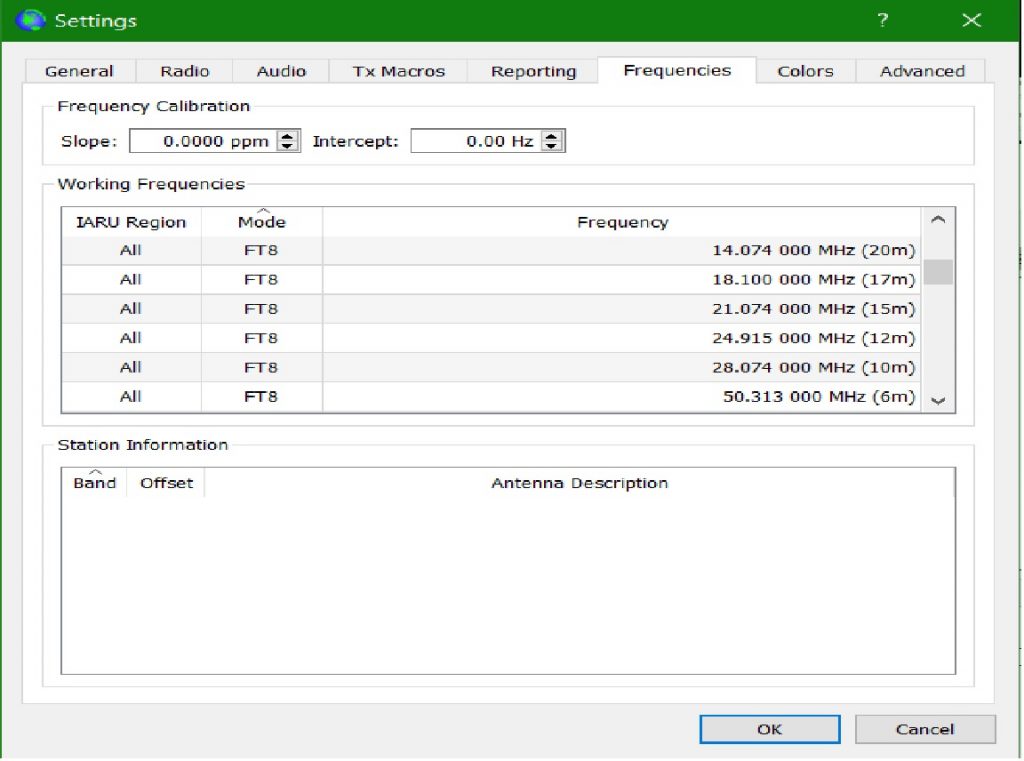
The Frequencies Tab are the preset frequencies for each band set for FT8. Most users will not need to change anything on this tab.
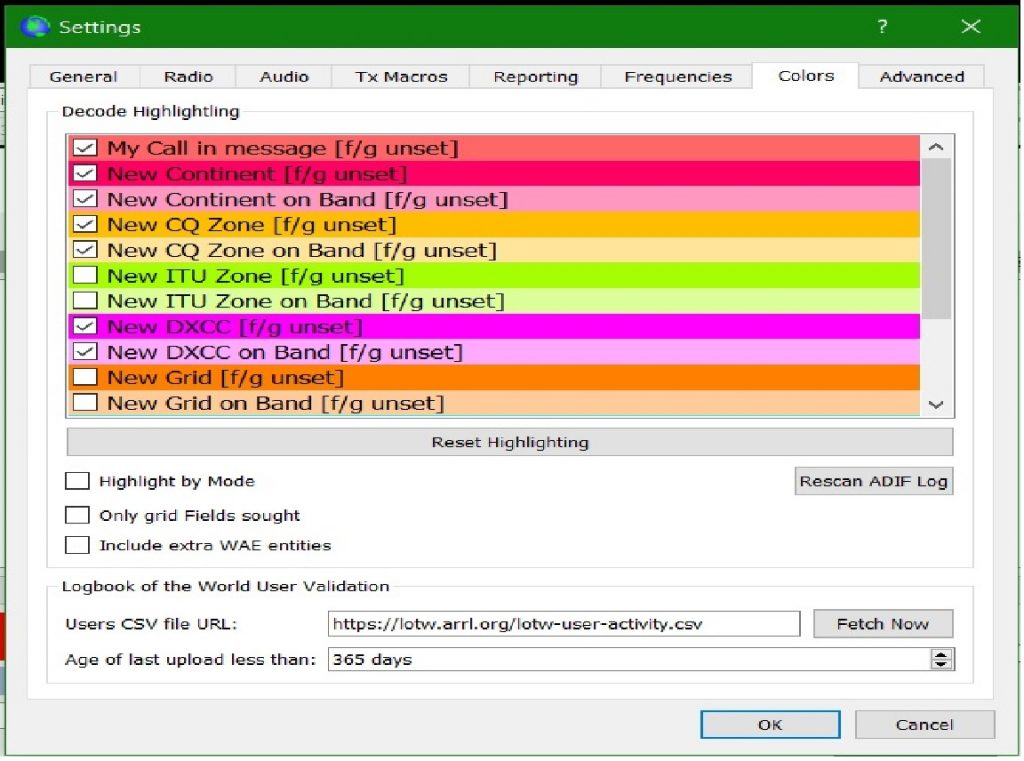
The colors tab allows you to select how you see the incoming messages from different stations.
FT8 Overview and Operation
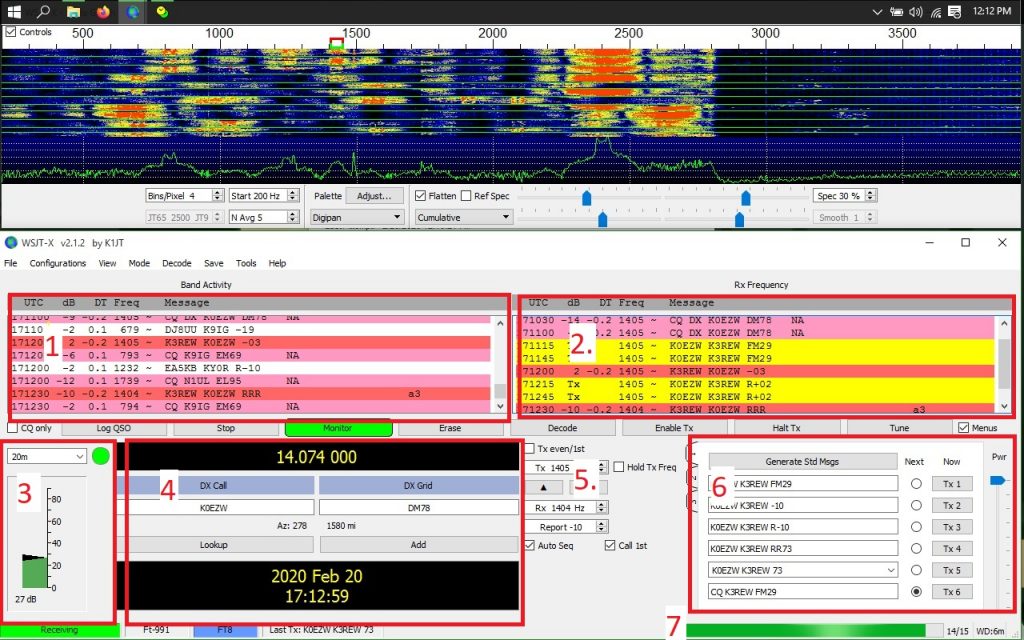
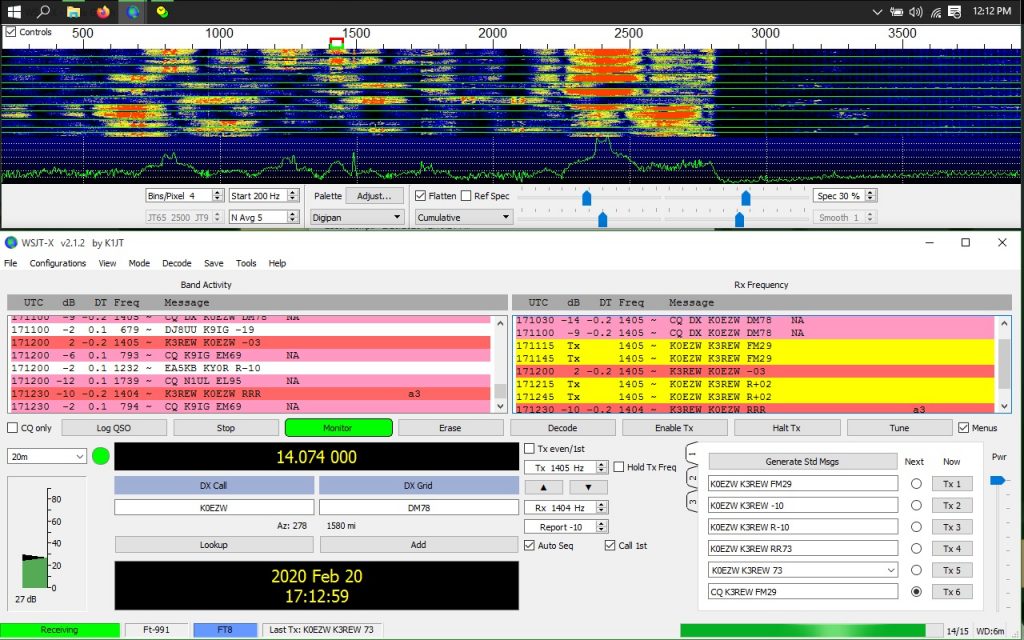
For the image down below is the following areas you will be using in the main program.
- Incoming decoded messages for everyone
- Incoming / Outgoing messages with your callsign
- The drop down is used to change bands and the meter shows the dB your mic your computer is picking up. This should be roughly 30 dB in a quiet area of the waterfall
- Shows the frequency, the callsign selected with their distance and grid, then the date and time it UTC.
- This is where you are in the band pass for tx and rx
- Pre-generated messages when you select a callsign to transmit to or if you call CQ
- The 15 second cycle that FT8 works on
By default the Waterfall is not shown when WSJT-x is first launched, Once you have it up the first time it will always show up when you open the program.
To enable it click View, then Waterfall.
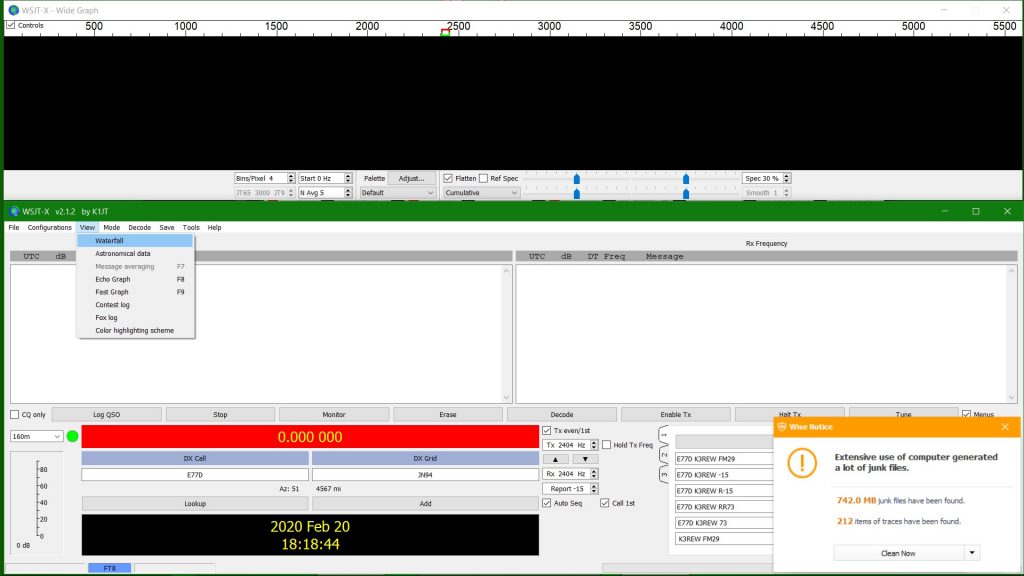
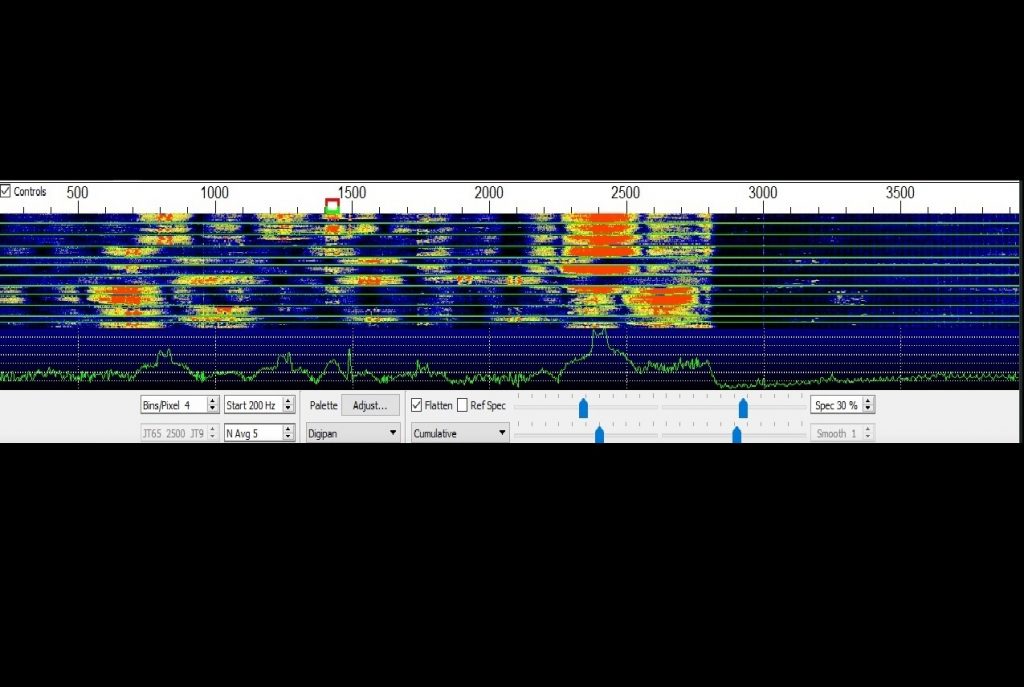
The Waterfall is used as a visual to see all the signals in the band pass of the frequency you are on. It also shows where your tx and rx in the band pass are as well.
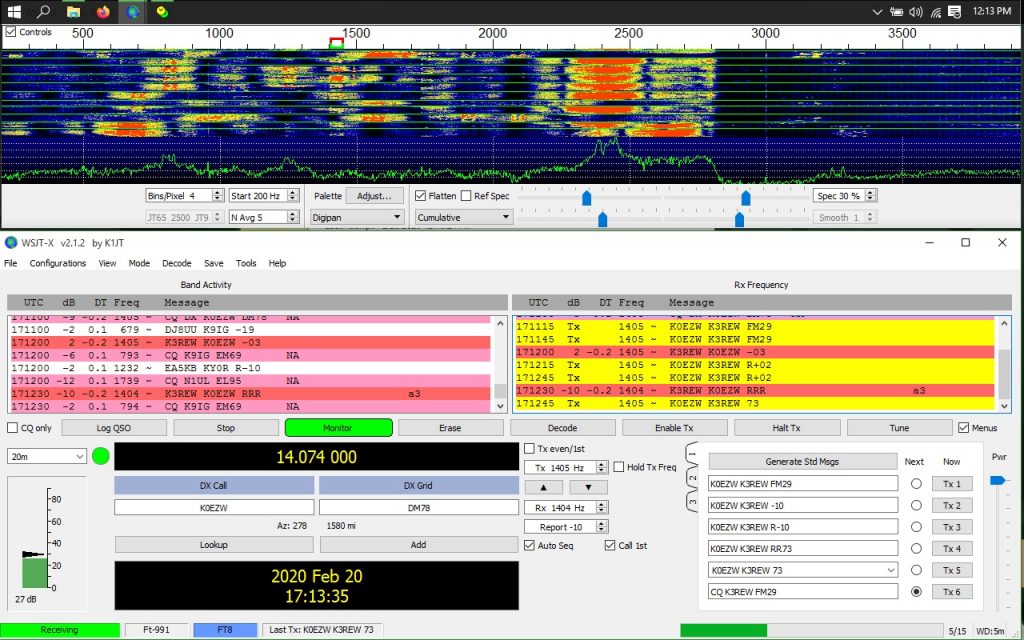
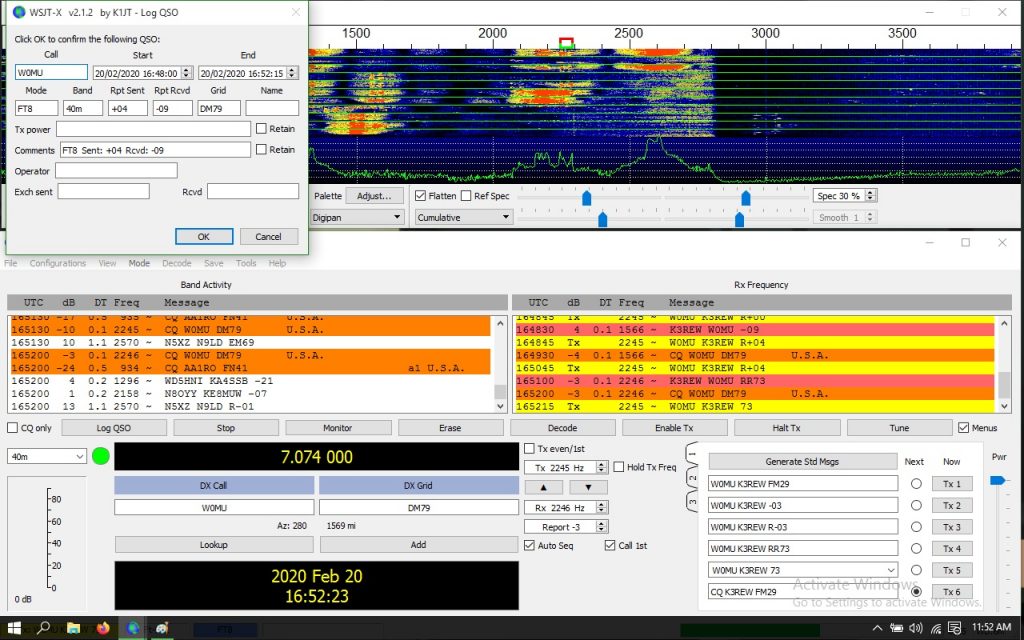
Next is an example of a QSO in FT8.
I initiated a response to a CQ by double clicking the CQ on the Left side of the screen where the incoming decoded messages come in.
Once the request is seen by the other station the rest is automated and goes through all the pre-generated messages until you have both said 73 in some fashion. Then your program logs the QSO.
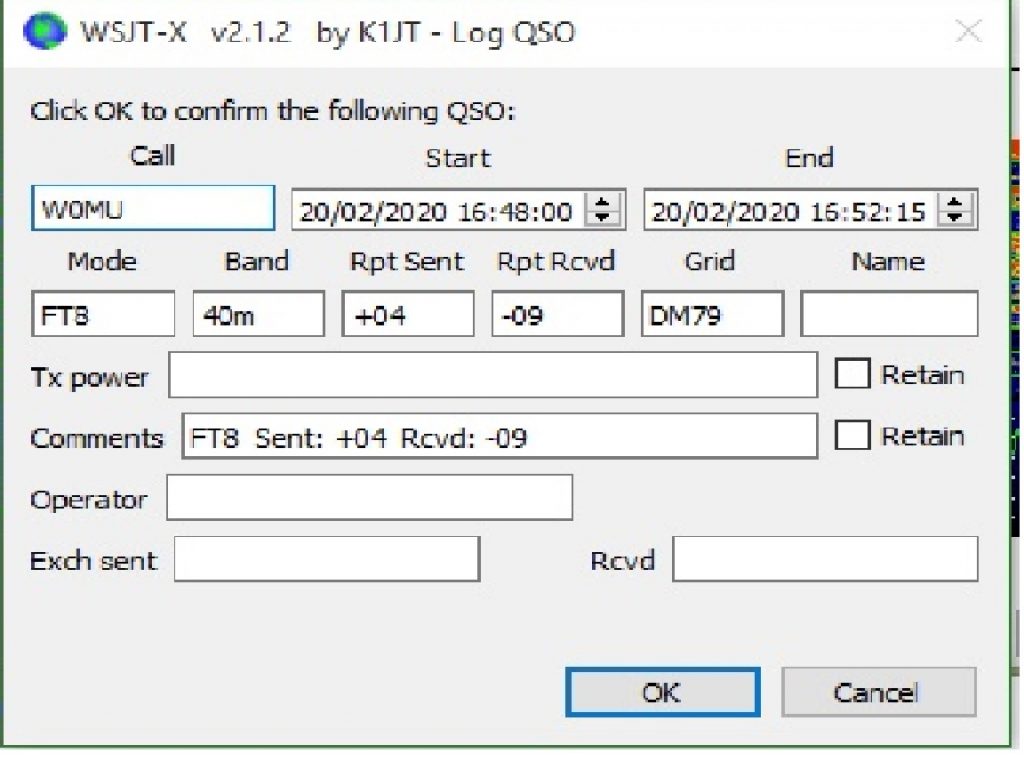
Because I have the program set up to pop up a log report I am given the screen below.
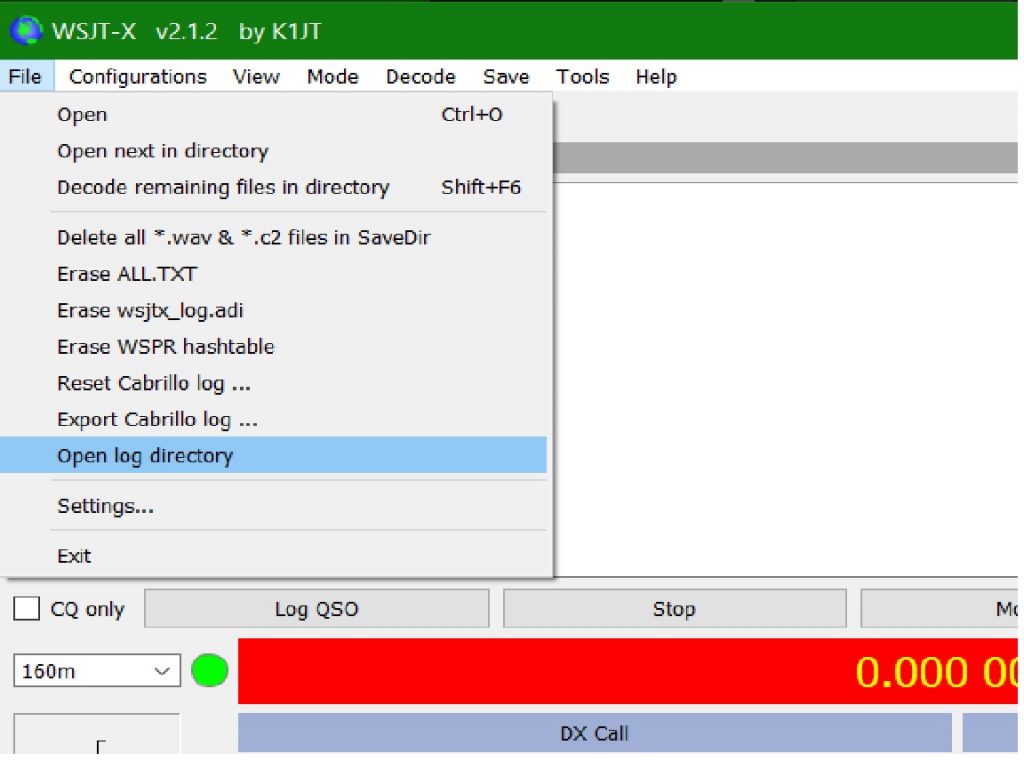
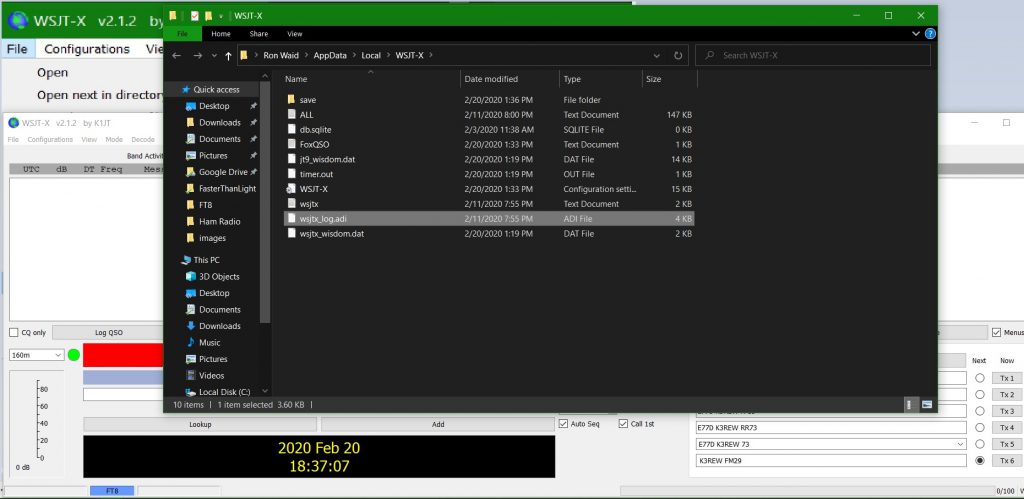
To Upload, Export, Erase logs you can do so by clicking File on the main program screen. You can also Open the log directory to access the log manually to export it to a computer program.
Hopefully this is helpful for you if you have any questions you can email me at ronwaid@ronwaid.com or k3rew@arrl.net